 My mom is an artist. When I was growing up she challenged me to see the world with “seeing eyes,” meaning to look for details and differences. I loved being outdoors in the fields and woods around my house. I explored the brook and the marsh. I loved the flowers and the birds best. That’s how I came to know about John James Audubon.
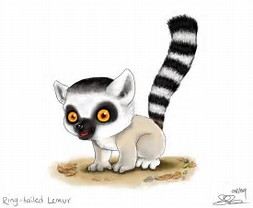
 Later, I learned more about him and saw his work with new eyes. When I read about the current exhibition at the Currier Museum of Art I wanted to go. I did. ” From Birds to Beasts: Audubon’s Last Great Adventure” is terrific. It is set up so that both kids and adults will enjoy it. The exhibition shows Audubon’s artwork of the quadrupeds (four-footed animals) of North America – there are a few birds too. Eight of the animals our class chose as important in our states are on display and they are stunning! Make sure you grab the free Art, Nature and Adventure Journal, designed to help you use the exhibition to learn characteristics of different animals and discover more about Audubon’s artistic process. Use the second part to do some outdoor sketching of your own.
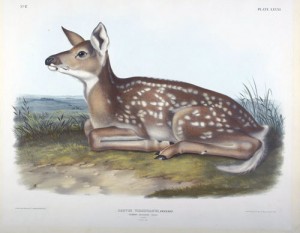
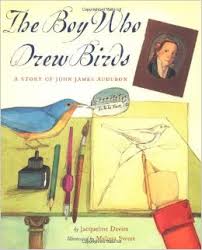
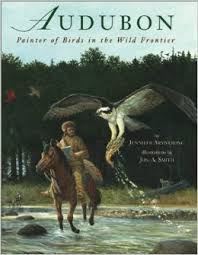
These books, and others, helped me learn more about Audubon and his life. Did you know he was the first person to learn that some birds come back and use the same nest year after year? Did you know he was the first person to band a bird and that before he proved birds migrate, scientists believed “small birds gathered themselves in a great ball, clinging beak to beak, wing to wing, and foot to foot, and lay under water all winter, frozen-like”?
The way Audubon collected animals for his work would seem unusual today, but the accomplishments of his work and the legacy he left for those who love nature remains important. This exhibit is wonderful. I hope you’ll be able to go. Kids under 13 are free and if you go between 10 and noon on Saturday, the museum is free to NH residents. When you go, let me know what picture stands out to you. The ones I shared in this post stood out to me, but there are others too – the armadillo, the lynx, the polar bear… Enjoy!
 …you just found a
 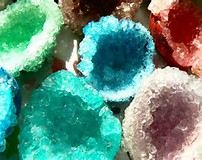 … you wanted to create your own geode? You could use an egg, some alum and some dye to do it. With adult help, you can grow some beautiful crystals in just three days.
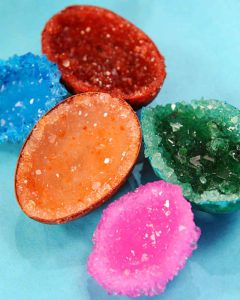 Set the container in a safe place overnight to allow the crystals to grow undisturbed. The longer the eggshell is in the solution, the larger the crystals in the geode will be. 12 to 15 hours is just about right.

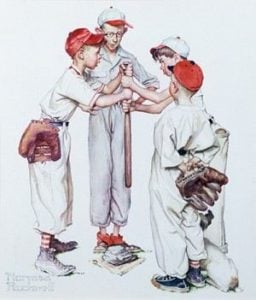
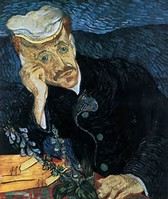
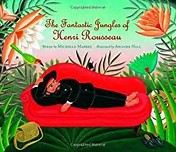 At the beginning of the school year we read
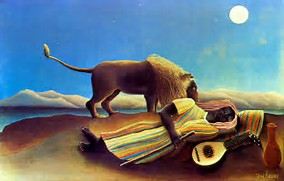
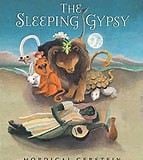 Mordicai Gerstein used that painting to create a whole new story called
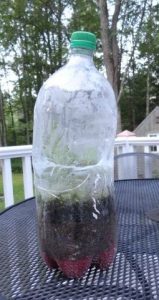 For the past three days I’ve been exploring water, woods and fields at a science institute for teachers. We made hygrometers. We created ph test solutions. We examined all different kinds of environments, and we made a woodland terrarium. The teacher who lead us in this activity shared three different types of terrariums: freshwater, wetlands and woodlands. The freshwater terrarium was full of copepods and algae. We could see them without a microscope, That terrarium had been thriving for nearly 15 years! The wetland terrarium was full of moss and small plants. It had been thriving for 8 years! And finally, the woodland terrarium had been thriving for nearly 2 years. It was full of wintergreen plants, ferns, moss and all the microorganisms that are in soil.
 I made a woodland habitat. I wonder how long it will survive. I can’t wait to see. I thought you might like to make one too.
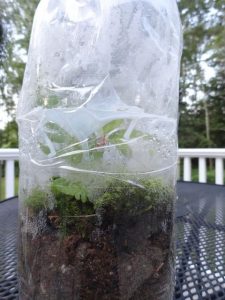 Cover the soil and plant roots with small pieces of moss. The plant stems will stick between the different mosses.
 It’s Friday and I have something fun you might like to do. A few days ago I came across this project. Debbie Ripath Ohi, author/illustrator of
 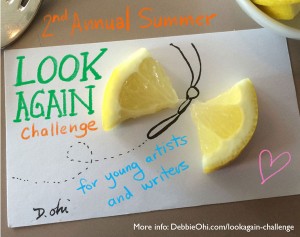 DEBBIE’S 2016 SUMMER “LOOK AGAIN” CHALLENGE FOR YOUNG WRITERS AND ARTISTS
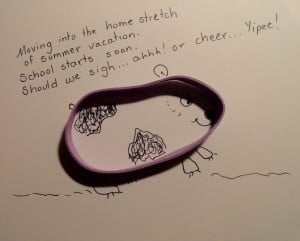
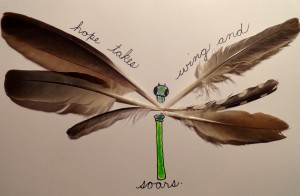 couple of my doodles. I used a rubber band to make the body of my hamster and feathers I collected in our yard for the dragonfly. What things do you see when you look again? Have fun creating! I hope you’ll share them in a comment if you do! Happy Creating!
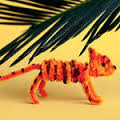
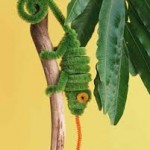 When you’ve made your own pipe cleaner pal, please post your creation with your comment.